Motherhood

Mentor Sessions + Motherhood

This is one of my favorite sessions + here’s why… it started as a mentor session with this beautiful momma you see in these photos + then turned into a mini Motherhood Session. One of my most adored progressions as a business owner has been mentoring + pouring into other photographers who are eager to learn, grow + dive deeper into bettering themselves as business women.

I’ll never forget the feeling of overwhelm, confusion, frustration, comparison… honestly, the list goes on when I first stepped into the pool of photography. All I wanted to do was feel more confident behind the camera, know exactly what I was doing on the business side + succeed, make a name for myself. But for whatever reason everything was hush-hush. Asking a photographer what preset they use or what location they shot at or what their camera settings on an image were unheard of. I hated the feeling. It was really a world of every man for themselves. If I wanted to learn I had to do some deep google searching or try, fail, try again.

Fast-forward five years + I was well on my feet, but again, only after facing trial + error, late nights, money spent + money wasted. It was no easy feat, but I’m proud to have built the company I have + knew that I wanted to change things moving forward. I knew that if a photographer reached out to ask a question I’d give them the best most honest answer I could because heck, starting out is so hard + I wanted to help. Like truly help. Plus, it feels so good to help others, I suppose that’s the ennegram two in me.

For this session Morgan + I focused on working with 35mm film, practiced metering + the importance on waiting for the shot. After we were done shooting a roll of film I then took over + photographed her with her son for a sweet Motherhood Session as I talked through what I was doing so that she could get an idea of what I think about during a shoot.

I have a true passion for equipping motherhood + family photographers, especially those that are “new-to-the-scene” + feeling all the intimidation of starting out, to create the work they dream of + build a photography business that aligns with their own vision + values. If finding a mentor for 2023 is one of your goals + you’re interested in learning more about my Mentor Sessions or coaching groups I would love to chat, please feel free to email me!


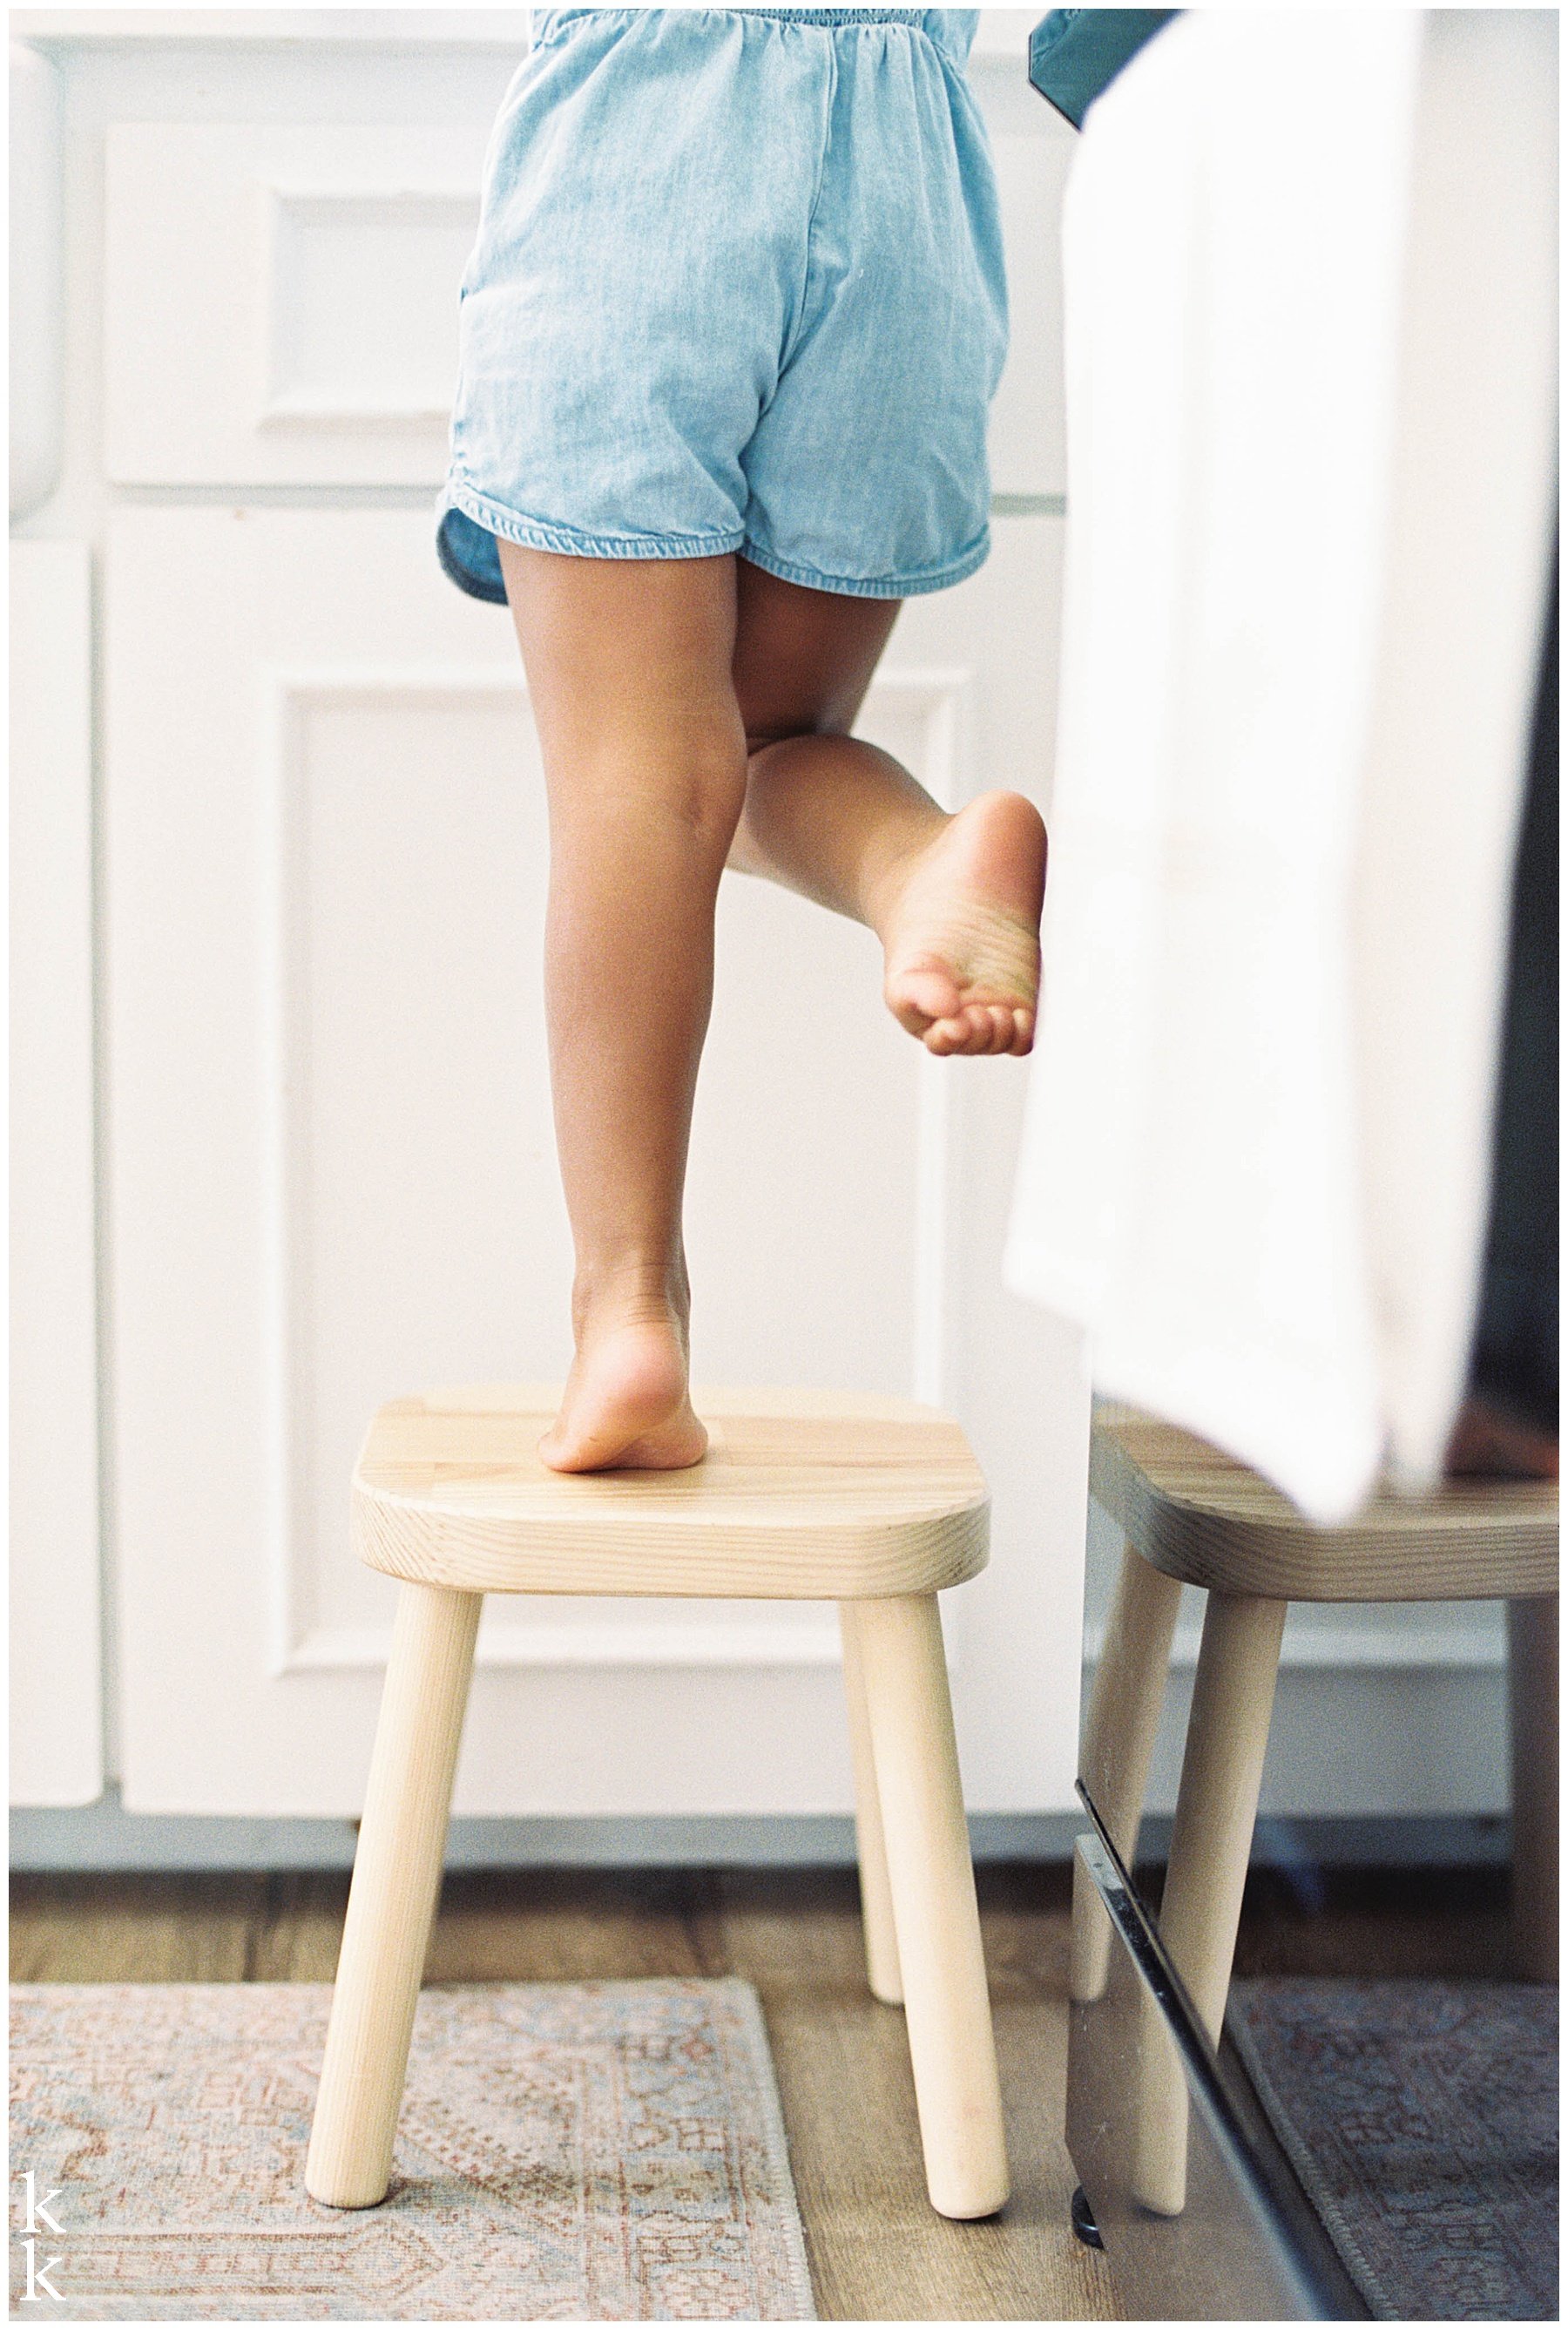
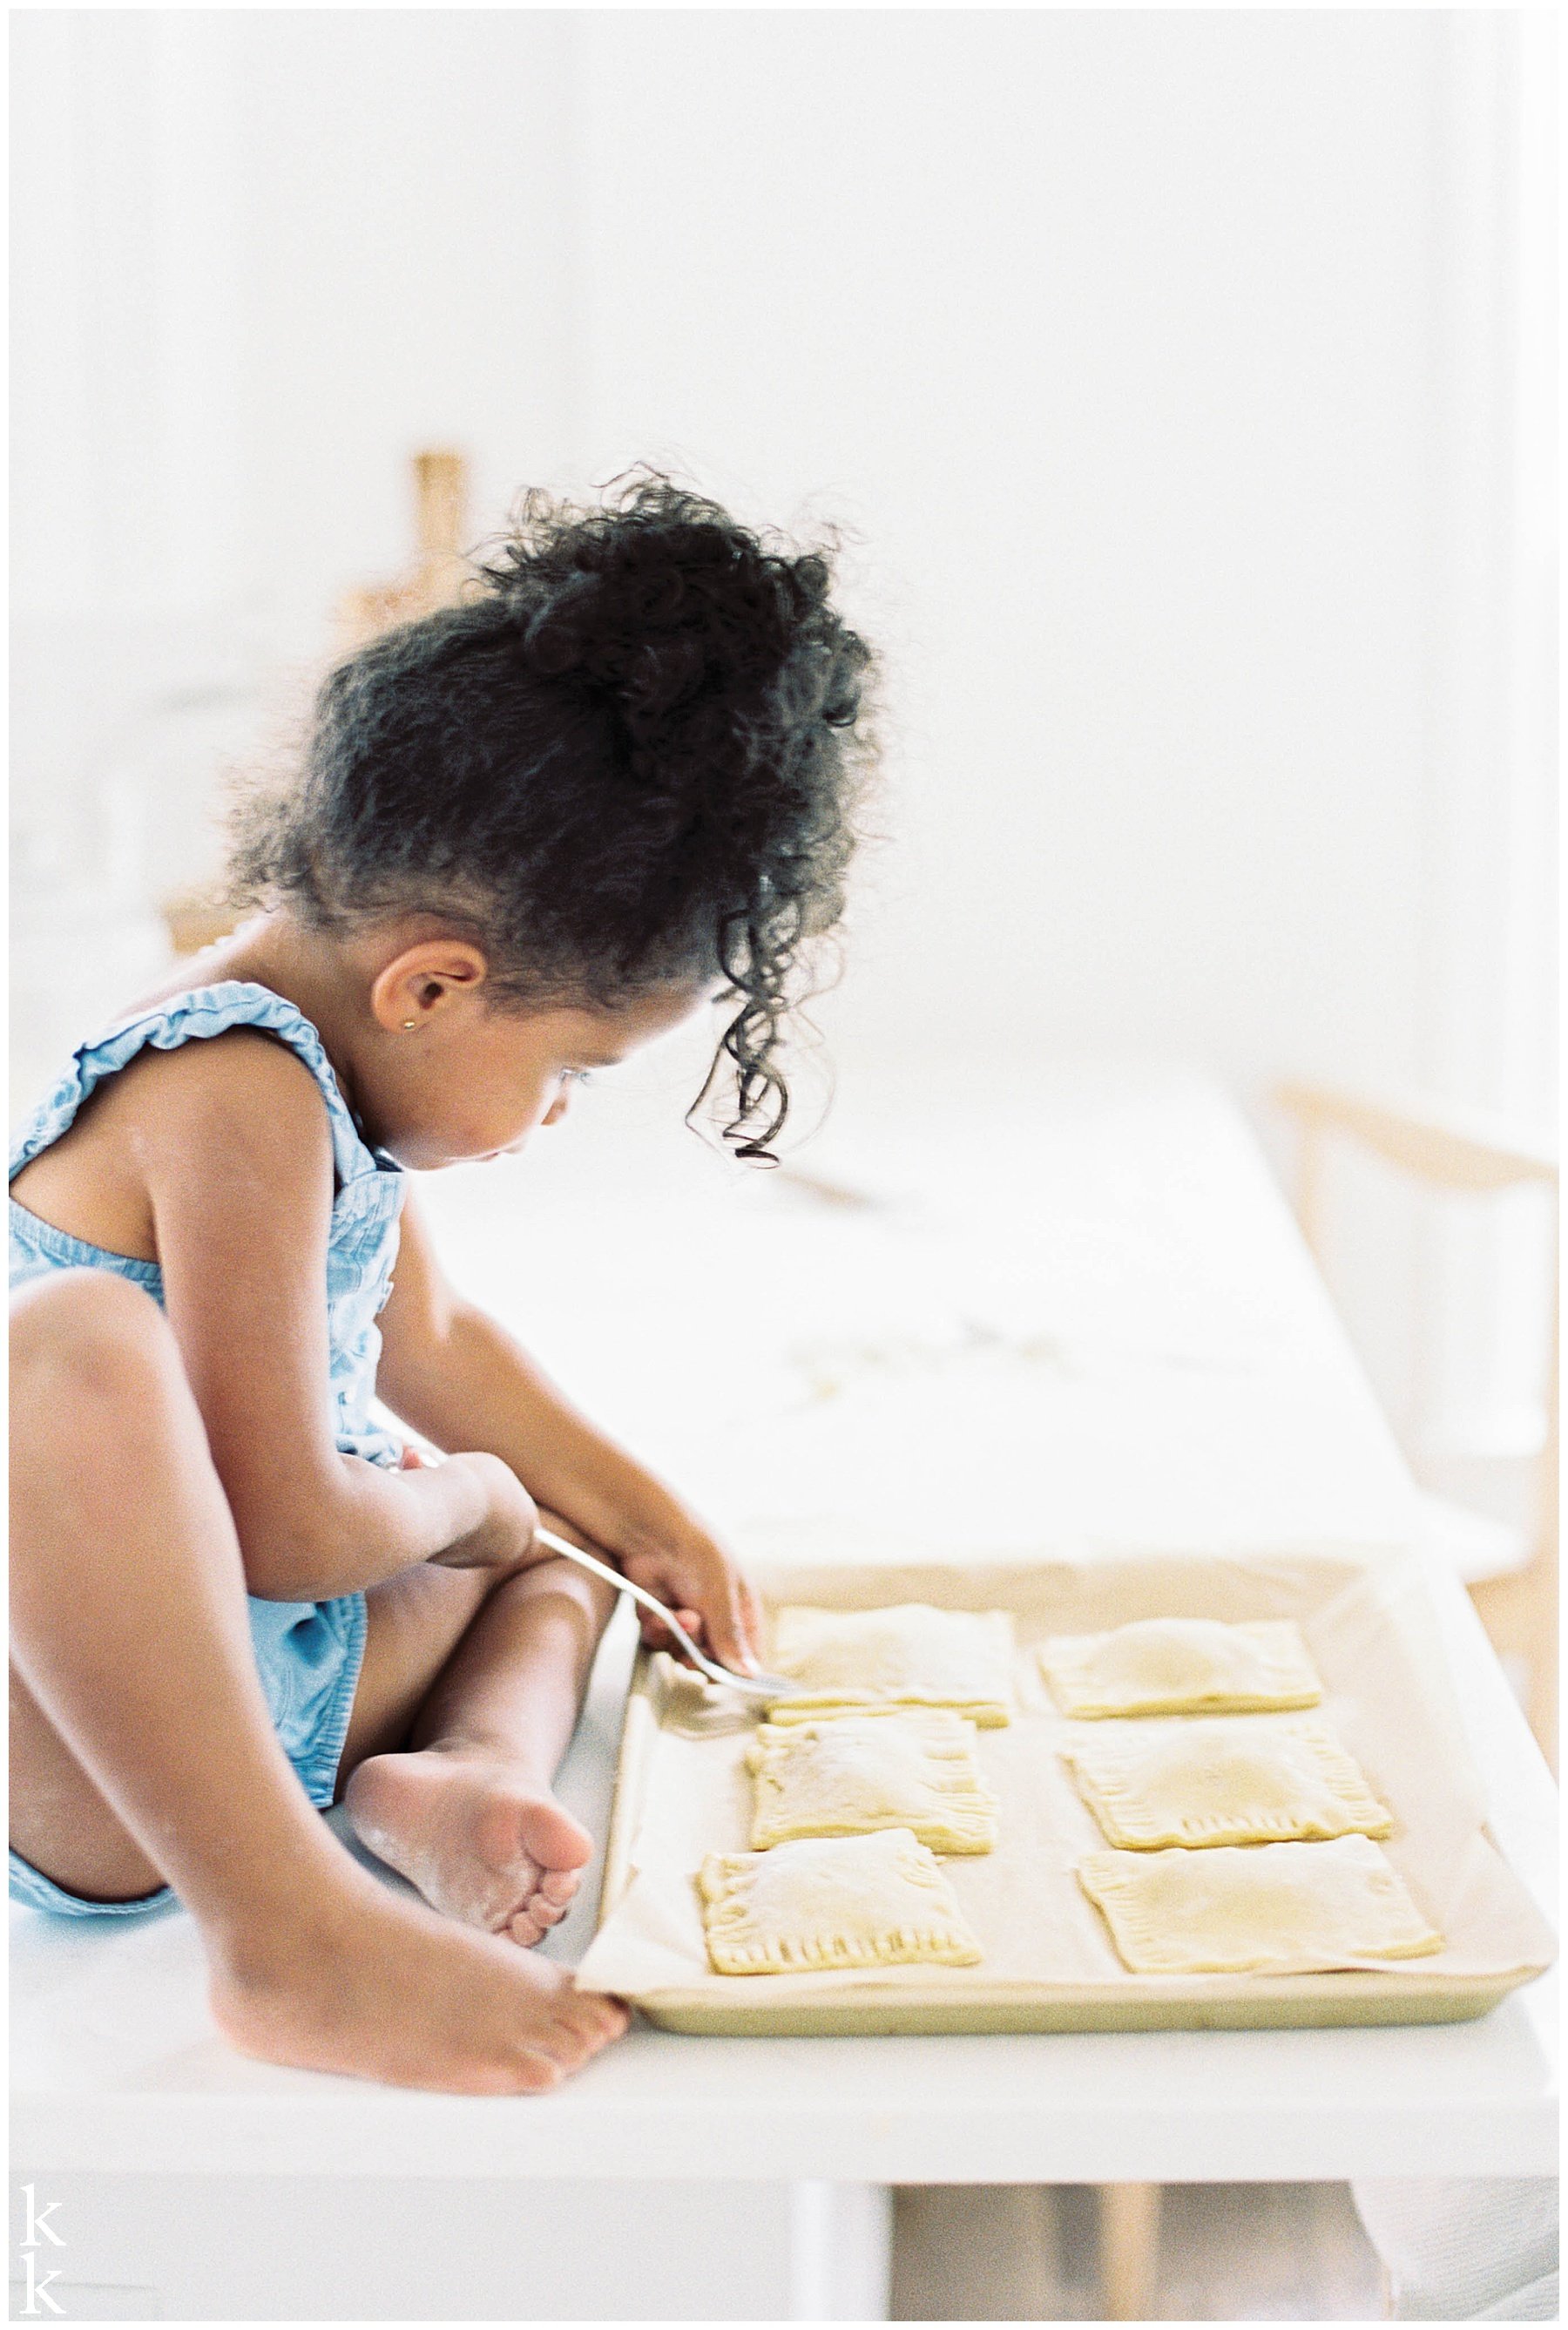
Here’s a little behind the scenes of our time together in Morgan’s Studio.


In the Kitchen with my Girls | Cherry Hand Pie Recipe

I love all things home — renovations, fixer upper projects, holidays, decor, movie + game nights, baking, hosting… truly anything that involves making a house a home + creating memories with my littles + beloved family + friends. With that comes a lot of time in my kitchen while trying out new recipes. And on this day in particular my girls (plus the baby in my belly) + I blasted Disney music while we made an absolute mess + some delicious cherry hand pies!!

I found this recipe while I was watching Magnolia Table one night with my husband. Not only did the process look fun, but the end product looked delectable. So, on a day that my girls were home with me we added “bake cherry hand pies” to our to do list.

I thought it would be fun to not only bake, but capture the process on my film camera. So I set up my tripod + got to work. Man, am I SO GLAD that I captured this afternoon. It’s not often that I’m in photos with my girls, I really do try to be better about this so that my girls have memories of what our life looked like when they were little. I will forever treasure these sweet images + highly recommend trying out this recipe, especially as fall approaches + the temperatures begin to drop. I have a feeling we’ll be making these again but after a trip to the apple orchard so we can substitute cherries for apples!!

You can check out the recipe below!

Cherry Hand Pies by Joanna Gaines

Total 2 hours and 20 minutes (includes chilling and cooling times)

Active 50 mins

Makes 8 hand pies

Ingredients

  • Dough

    • 2 cups all-purpose flour, plus more for work surface

    • 2 tablespoons granulated sugar

    • 1 teaspoon kosher salt

    • 1 cup (2 sticks) cold unsalted butter, cubed

    • 2 tablespoons milk, plus more if needed

    • 1 large egg

  • Cherry Filling

    • 1 cup canned cherries

    • 1/3 cup granulated sugar

    • 1 tablespoon plus 2 teaspoons cornstarch

    • 1 tablespoon unsalted butter

    • 1/4 teaspoon almond extract

  • Streusel Topping

    • 1/2 cup packed brown sugar

    • 2 tablespoons granulated sugar

    • 1/4 cup all-purpose flour

    • 1/4 cup old-fashioned oats

    • 1/4 cup almonds

    • 8 tablespoons (1 stick) cold unsalted butter, cubed

  • Egg Wash

    • 2 tablespoons milk

    • 1 large egg

Directions

  1. For the dough: In a large bowl, whisk together the flour, granulated sugar, and salt. Scatter the butter cubes over the flour. Using either a pastry blender or clean fingers, cut the butter into the flour until it is thoroughly coated and the biggest pieces are the size of small peas. In the center of the flour mixture, make a “well” and add the milk and egg to the center of the well. Gradually incorporate the flour mixture into the milk mixture. Knead until the dough comes together, adding more milk as needed.

  2. For the filling: Drain the cherries, reserving 2 tablespoons of juice. In a large saucepan, combine the cherries and reserved juice, granulated sugar, and cornstarch. Bring the mixture to a boil over medium heat, stirring constantly. Reduce the heat and simmer until the juice begins to thicken, about 7 minutes. Stir in the butter and almond extract, and set aside to cool to lukewarm.

  3. For the streusel: In a medium bowl, combine the brown sugar, granulated sugar, flour, oats, almonds, and butter. Using your hands or a pastry blender, work the ingredients together until the mixture resembles coarse crumbs. Refrigerate until ready to use.

  4. For the egg wash: In a small bowl, beat the milk and egg together.

  5. To assemble: Place the dough on a lightly floured surface, and roll it into a rectangle, about 12 x 16 inches. Using a pizza roller, cut the dough into twelve 3 x 4-inch pieces. Reroll scraps and cut out 4 more pieces of the same size, for a total of 16.

  6. Brush the egg wash over the edges of 8 pieces of dough; these will form the bottom of each hand pie. Place a heaping tablespoon of filling into the center of each bottom piece, then top with a piece of the remaining dough. Use your fingertips to press firmly around each pocket of filling, sealing the dough on all sides. Press the tines of a fork around the edge of each hand pie. Lightly brush the tops of the hand pies with egg wash. Then gently press some streusel into the top of each.

  7. Line a baking sheet with parchment paper. Gently place the hand pies on the baking sheet, about 3 inches apart. Prick the top of each pie 4 times with a fork, to allow the steam to escape during baking.

  8. Preheat the oven to 350°F. Chill the hand pies for 30 minutes.

  9. Bake the pies until light golden brown, about 30 minutes. Allow them to cool for 30 minutes before serving.

These images were captured on 35mm Kodak Portra film + was scanned + processed by PhotoVision.


If you’re interested in capturing a memory like this in your home click below for more information on a reserving a Milwaukee, WI in-home lifestyle session


a year's change

It was about this time last year that our family was preparing for our move to the north. My husband spent months preparing for intense interviews that would eventually land him a promotion in-house with his company. Our family moved from Memphis to Milwaukee, + a lot was changing.

We sold our house and bought a fixer-upper, I had to pause my work as a photographer + became a full-time mom, homeschooler + homemaker. Among these changes (+ more) I had decided that all things business + personal would live under one social media roof as a means of simplifying this area of my life + that it did!

However, after a year of posting personal, photography, presets, programs + everything in between I have decided that my personal life needs to remain private. A few years back I took a break from social media. I fasted every social app during the Lenten season + since then have felt very differently about posting my girls on a forum so freely accessible to the world. Yes, Instagram can be a beautiful blessing for a small business like mine, which is why I have decided to dust off the KKP handle + begin posting all things photography, presets + programs on this account again.

I’m looking forward to freely showcasing work along with all the business updates happening + I hope that you will join me! You can follow along here: @kylekelleyphotography.

Motherhood on Film | Kyle Kelley Photography | Milwaukee Maternity Photographer

This past week my family + I took a trip to Sanibel Island, FL for my birthday + ever since being back I’ve been craving more sunshine, warmer temps + the color green. So, I’m sharing this beautiful Motherhood Session from last spring/summer.

This stunning momma was carrying not just one, but TWO babies + upon their arrival she became a momma to three boys! This gorgeous Motherhood Session was a hybrid one, meaning I shot both film + digital images. My goal when working with both mediums is to make sure the image colors + tones match. I’d love to know which you thought are digital + which are film!


Interested in booking a Session with KKP?
Click below for more information + pricing!